Online sellers
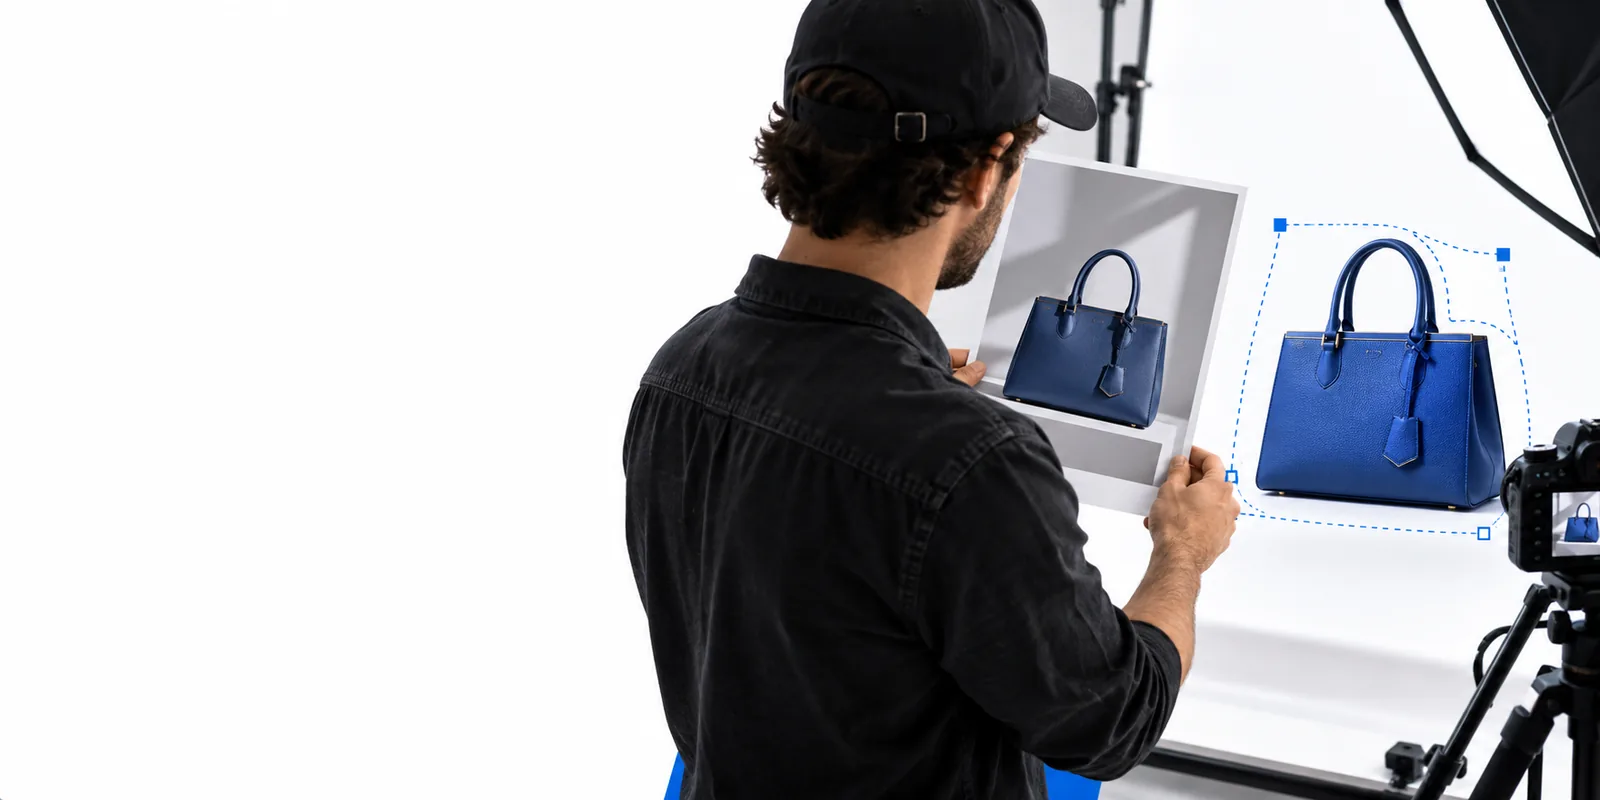
A product photo includes a room, desk, or temporary display surface that distracts from the item.
A cleaner product cutout is easier to place on a catalog, marketplace, or campaign background.
slazzer remove bgImage cutout tool
Slazzer background remover helps isolate the main subject from a photo so product shots, portraits, and simple social graphics can use a cleaner visual backdrop.
Related tools
Choose the Slazzer route that matches the job, from a direct background cutout to broader editing and app-based workflows.
Practical uses
Background removal is most useful when the subject is visually distinct and the intended result is clear before you begin.
A product photo includes a room, desk, or temporary display surface that distracts from the item.
A cleaner product cutout is easier to place on a catalog, marketplace, or campaign background.
slazzer remove bgA person needs to be separated from a busy street, room, or travel scene for a profile or social design.
The subject can be repositioned without carrying the original surroundings into the new composition.
slazzer examples freeA campaign needs one recognizable object or person reused across several layouts.
A prepared cutout gives the team a more flexible starting point for banners, posts, and simple promotional artwork.
slazzer photo editorA quick image edit starts on a phone rather than in a desktop production workflow.
The app-oriented route keeps the background-removal task closer to the device where the image was captured.
slazzer appHow it works
The cleanest results usually come from choosing a clear source image, checking the edge quality, and then deciding where the isolated subject belongs.
Start with a photo where the main subject is visible, reasonably sharp, and not heavily hidden by another object.
The background-removal workflow identifies the foreground subject and creates a cutout that can be reviewed against a contrasting surface.
Inspect hair, thin edges, transparent areas, and small details before using the cutout in a new composition or export workflow.
Set expectations
A background remover is not the same as a full photo editor. Knowing its boundaries helps you choose better inputs and avoid unnecessary rework.
When several objects touch or overlap the subject, the intended foreground boundary may be ambiguous.
WorkaroundUse a clearer source image or crop closer to the subject before processing.
Strands, glass, mesh, smoke, and semi-transparent materials can require closer inspection than solid edges.
WorkaroundReview the result at a larger size and make a manual correction in an editor when edge precision matters.
Removing the background does not automatically create a finished advertisement, retouch a face, or arrange a complete campaign layout.
WorkaroundUse the cutout as one asset inside a broader photo-editing or design workflow.
Blur, severe compression, darkness, and an already-cropped subject can limit how convincing the separation looks.
WorkaroundCapture or select the clearest available image with enough space around the subject.
At a glance
These markers describe the practical shape of the route rather than promising a result for every photograph.
Visual check
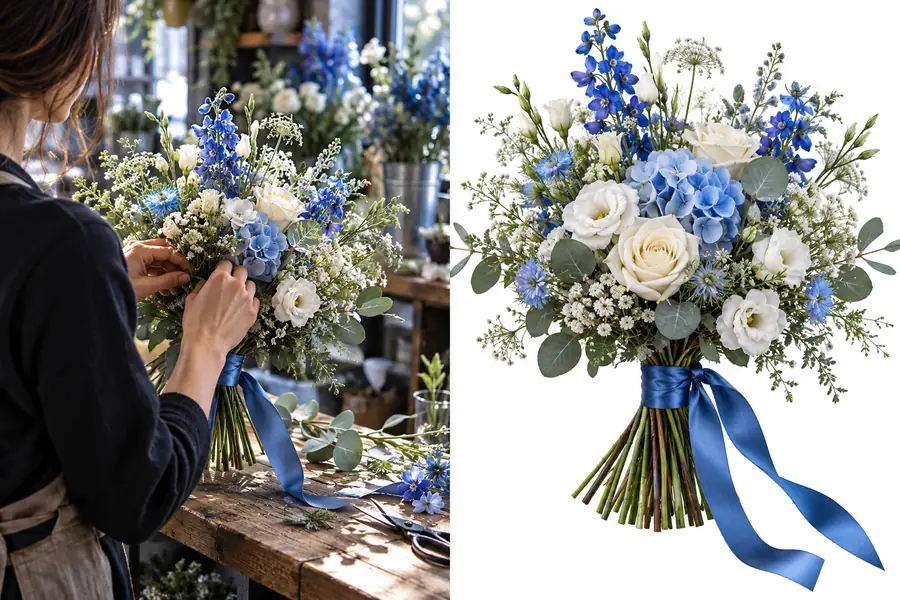
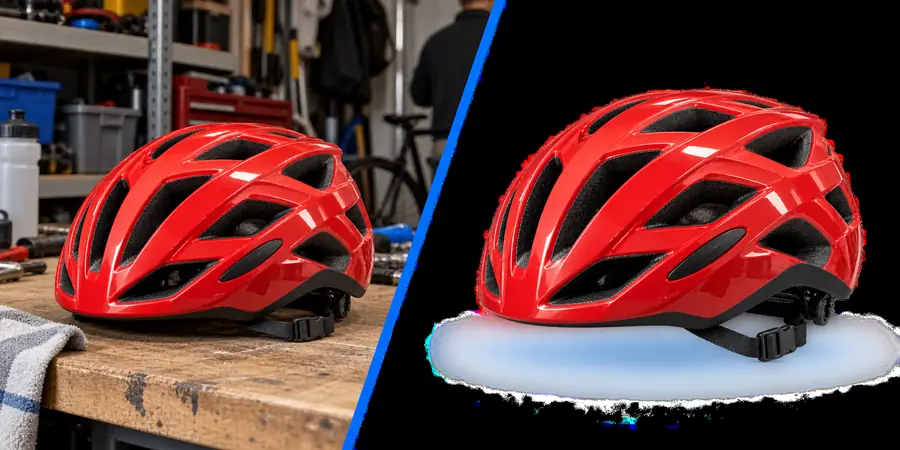
The useful change is not only that the scene disappears; it is that the subject becomes easier to reuse in a different visual context.
Compare the subject edges before placing it elsewhere.
Ready to edit
Send a suitable image into the Slazzer workflow when you need the subject separated from its surroundings. Begin with the clearest photo available, then review the edges before using the result in a larger design.
Remove an image backgroundCommon questions
It is a background-removal workflow designed to separate a visible subject from the surrounding scene. The resulting cutout can then be placed into another layout, background, or image-editing process.
The workflow analyzes the image to distinguish the likely foreground subject from its background. Clear contrast, visible edges, and limited overlap generally make that separation easier to inspect and use.
Images with one recognizable subject, good lighting, and enough space around the edges are usually the easiest to process. Product photos, portraits, and simple object shots are practical starting points.
It can attempt images with hair, mesh, glass, or overlapping objects, but those details deserve a careful review. For demanding work, use the cutout as a starting asset and refine the edges in a suitable editor.